Want to become an android developer? ITS FREE! Just follow these easy steps and you’ll be making free apps in no time.
UPDATE : Ganymede is no longer supported by newer versions of of the sdk. Download Galileo 3.5, tutorial still valid :>
Download and install Eclipse.
Download Android sdk from http://developer.android.com/sdk/index.html
Click below to Read the Walkthrough / Tutorial / Guide
Open the SDK Manager.exe
Accept and install
Takes a while…
If you have an anti-virus disable it temporarily
Open Eclipse and go to Help -> Software Updates
Click Available Software then Add Site,
https://dl-ssl.google.com/android/eclipse/
Select the root check box and click Install
Confirm
Accept the terms..
Within Eclipse go into Window -> Preferences
After selecting the Android Preferences on the left side click the Browse button next to the SDK Location Row
Point it to the Directory where you downloaded your android sdk.
point it to the android-sdk-windows folder, then Click Apply
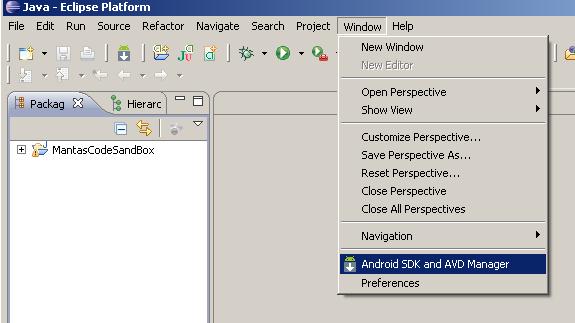
Then go into your Android SDK and AVD Manager
Click New… to create a new AVD
Successfully created AVD should look like this
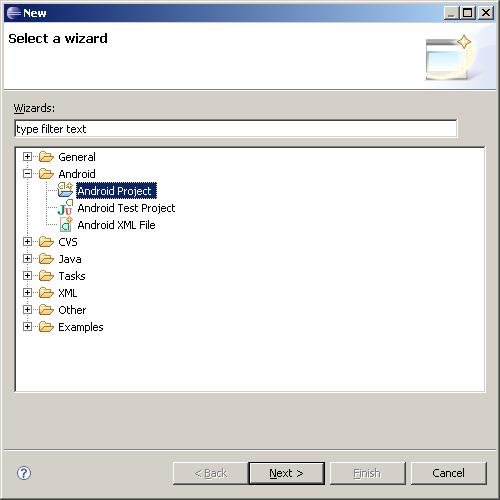
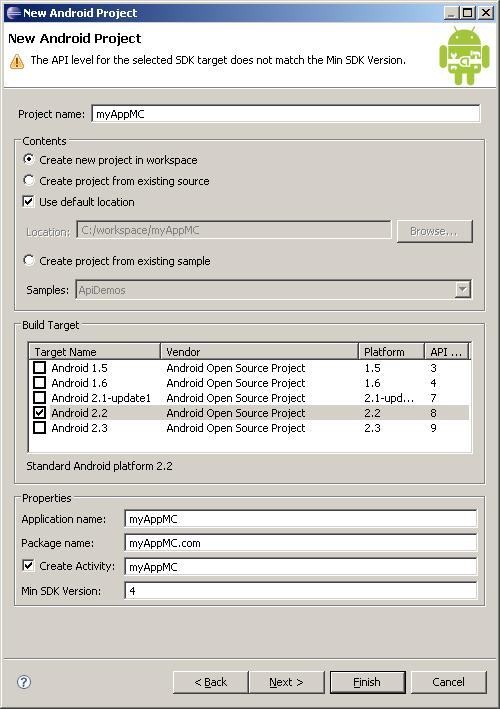
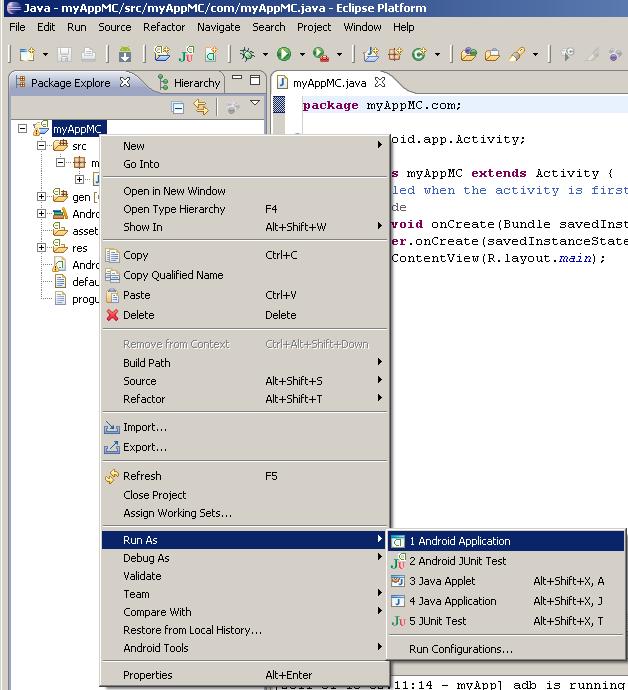
Create new Android Project
…
…
…
…
…
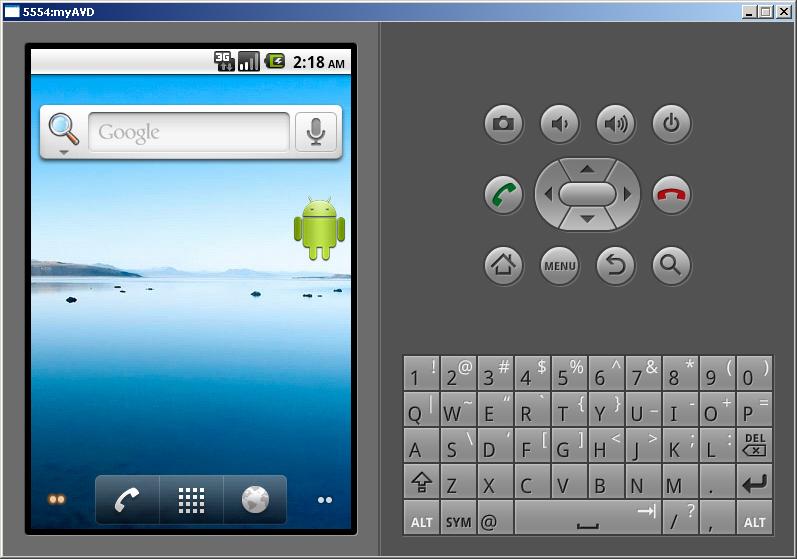
… Thats it!





Thanks dude…………. it was a grate article and helped a lot buddy
Hi! You can watch how to start emulator in youtube
http://youtu.be/by8-fEh5oPs